

How to Trim a Dutch Beard
How to Trim a Dutch Beard: Transform Your Look in 9 Easy Steps
The Dutch beard isn’t just a style—it’s a bold statement that’s been turning heads for centuries.
Picture this: in the 19th century, Dutch sailors proudly wore this full, robust beard to shield themselves from harsh sea winds. Fast forward to today, and the Dutch beard is back, not just as a nod to tradition, but as a symbol of modern masculinity.
However, achieving the perfect Dutch beard takes more than just letting your facial hair grow wild. It’s all about precision and technique. To truly stand out, you need to know how to properly trim a Dutch beard so that it retains its signature fullness and sharp lines.
This isn’t just about cutting hair—it’s about transforming your entire look with a style that’s powerful, polished, and uniquely yours.
In this article, you will:
- Master the step-by-step process to achieve the perfect Dutch beard trim
- Equip yourself with the essential grooming tools for a flawless Dutch beard
- Steer clear of common pitfalls to maintain an impeccable Dutch beard style
Ready to make your Dutch beard the ultimate expression of your personal style? Let’s get started.
Trimming a Dutch Beard - Step-by-Step Tutorial
Maintaining a well-groomed Dutch beard can elevate your style and enhance your overall appearance. Follow this detailed guide to ensure your beard looks sharp, polished, and perfectly shaped.
Here’s how you can achieve a professional finish at home:
1. Preparation: Laying the Groundwork
Before you pick up your trimmer, set the stage for success with these crucial preparatory steps:
The Cleansing Ritual
- Beard Bath: Start with a thorough cleanse using a specialized beard shampoo. Massage it gently into your beard, working from roots to tips. This removes accumulated oils, dirt, and any remnants of yesterday's lunch, providing a clean slate for your trimming artistry.
The Softening Secret
- Conditioning Magic: Apply a nourishing natural beard conditioner, working it through every strand. This not only softens your beard but also makes it more pliable, reducing the risk of snags and tears during trimming. Let it sit for 2-3 minutes, allowing the conditioning agents to penetrate deeply.
The Perfect Dry
- Gentle Patting: After rinsing, resist the urge to rub vigorously with your towel. Instead, pat your beard dry with a soft, clean towel. This prevents frizz and keeps your beard hairs aligned, making the trimming process smoother.
The Detangling Dance
- Comb Carefully: Using a wide-toothed comb, gently work through your beard from bottom to top. This not only detangles but also helps you identify any particularly unruly areas that may need extra attention during trimming.
2. Assessment: Mapping Your Masterpiece
Before making any cuts, take a moment to study your canvas:
Mirror, Mirror
- Lighting is Key: Position yourself in front of a well-lit mirror. Natural light is ideal, but if that's not possible, use bright, diffused lighting to avoid shadows that could mask problem areas.
The Beard Examination
- Growth Patterns: Observe how your beard grows. Note any swirls, cowlicks, or patches where hair grows in different directions. Understanding these patterns is crucial for achieving an even trim.
- Density Check: Identify areas of varying thickness. The Dutch beard style often requires maintaining fuller areas while carefully trimming others for balance.
Visualization Exercise
- Mental Mapping: Close your eyes and visualize the Dutch beard you're aiming for. Picture the strong, defined jawline and the fuller chin characteristic of this style. This mental image will guide your hand as you trim.
3. Outlining: Drawing the Blueprint
Now, it's time to define the borders of your Dutch masterpiece:
The Neckline Novella
- Find Your Adam's Apple: Tilt your head back slightly and locate your Adam's apple. Now, imagine a U-shaped line curving from just behind one ear, dipping about an inch above your Adam's apple, and sweeping up to behind the other ear. This is your neckline guideline.
- Marking the Territory: Use a beard trimmer without a guard or a precision trimmer to lightly mark this line. Don't commit to a full trim yet; this is just a guide.
The Cheek Line Chronicles
- Natural vs. Styled: The Dutch beard typically features a lower cheek line than some other styles. Look at your beard growth patterns and decide where you want your cheek line to fall. A good rule of thumb is to start at the top of your ear and draw an imaginary line to the corner of your mouth, adjusting slightly lower for the classic Dutch look.
- Precision Matters: Use a beard-shaping tool to mark this line precisely. These tools come in various shapes and can help you achieve perfect symmetry.
4. Shaping: Sculpting the Signature Dutch Look

This is where your beard truly begins to take on the distinctive Dutch character:
Jawline Mastery
- The Foundation: The jawline is the cornerstone of the Dutch beard. Use your trimmer with a longer guard (start with 6mm or 8mm) to define a strong, angular jawline. Move the trimmer upwards against the grain, following the natural angle of your jaw.
- The Gradual Approach: As you move from your jawline towards your cheeks, gradually decrease the guard length. This creates a subtle fade effect that's characteristic of the Dutch style.
Chin Charisma
- Fuller is Better: The Dutch beard showcases a fuller chin. When trimming this area, use a slightly longer guard than you did on the sides. This extra length creates the illusion of a strong, square chin – a hallmark of the Dutch beard.
Sideburn Sophistication
- The Fade Effect: Create a seamless transition from your hair to your beard by tapering your sideburns. Start with a longer guard at the top and gradually decrease the length as you move down towards your jawline.
5. Trimming: Achieving Harmonious Length
Now that the shape is established, it's time to refine the overall length:
Guard Selection
- Start Conservative: Choose a trimmer guard slightly longer than your desired final length. Remember, you can always trim more, but you can't un-trim!
- Test Patch: Before committing to your entire beard, test your chosen guard length on a small, less visible area to ensure it's the right length for you.
Sectional Trimming
-
The Sides:
- Begin at your sideburns, moving the trimmer upwards against the grain.
- Use slow, steady strokes to ensure an even trim.
- Pay extra attention to the transition area where your sideburns meet your beard.
-
The Chin and Under-Jaw Area:
- Switch to a slightly longer guard for this section to maintain that characteristic Dutch fullness.
- Trim from the bottom up, working your way around the chin and under the jaw.
- Be extra careful around the chin, as this is a focal point of the Dutch beard style.
-
The Mustache:
- Use a precision trimmer or scissors for more control.
- Trim any hairs that hang over your upper lip.
- Ensure the mustache blends seamlessly with the rest of your beard, maintaining a slightly fuller appearance than the cheeks.
Symmetry Check
- Step Back: After trimming each section, take a step back from the mirror and assess your work. Look for any unevenness or areas that need touching up.
- The Head Tilt: Tilt your head slightly in different directions to catch your beard in various lights. This can reveal areas you might have missed.
6. Detailing: Refining Your Masterpiece
This is where your Dutch beard truly comes to life:
Edge Definition
- Neckline Precision: Remove the guard from your trimmer and carefully clean up the neckline you outlined earlier. Use short, careful strokes to create a crisp, defined line.
- Cheek Line Refinement: Similarly, define your cheek lines with precision. The Dutch beard typically features a slightly lower cheekline, so don't be afraid to keep it natural and a bit rugged.
Stray Hair Patrol
- Scissor Work: Use a pair of sharp beard scissors to snip away any conspicuous flyaways. Pay special attention to the mustache area and around the mouth.
- The Comb-and-Trim Technique: Comb your beard against the grain to make stray hairs stand out, then carefully trim them to match the overall length.
Mustache Mastery
- The Upper Lip: Trim any hairs that hang over your lip using scissors for precision. Aim for a neat appearance that doesn't overshadow your beard.
- Mustache Ends: Style the ends of your mustache to complement your Dutch beard. A slight downward curve often works well with this style.
7. Blending: Creating Seamless Transitions
The key to a natural-looking Dutch beard lies in smooth transitions between different lengths:
Multi-Guard Technique
- Gradual Fading: Use multiple guard lengths to create a subtle fade effect. Start with your longest guard at the chin, then gradually decrease the length as you move up towards your cheeks and sideburns.
- The 'Two-Guard' Rule: When blending, use a guard that's one size between your longer and shorter sections. This creates a more gradual, natural-looking transition.
Critical Transition Zones
- Sideburn-to-Beard: Pay extra attention to where your sideburns meet your beard. This area should transition smoothly without any noticeable "steps" in length.
- Mustache-to-Cheek: Blend the fuller mustache area into the slightly shorter cheek area for a cohesive look.
8. Moisturizing and Styling: The Finishing Touches
Transform your well-trimmed beard into a moisturized, styled work of art:
Oil Application
- The Right Amount: Place 3-5 drops of high-quality beard-specialized oil in your palm (adjust based on your beard's length and thickness).
- Even Distribution: Rub your palms together, then work the oil through your beard, starting at the roots and moving to the tips. Use your fingertips to massage the oil into your skin beneath the beard.
Balm for Hold and Shape
- Warm It Up: Scoop out a small amount of beard balm (about the size of your thumbnail) and warm it between your palms.
- Shape and Style: Work the balm through your beard, focusing on shaping the distinctive elements of your Dutch beard – the strong jawline and fuller chin area.
The Final Comb-Through
- Tool Selection: Choose a fine-toothed comb or a boar bristle beard brush.
- Styling Strokes: Comb or brush your beard in the direction you want it to lay, paying special attention to creating that square chin effect characteristic of the Dutch beard style.
9. Maintenance Plan: Preserving Your Masterpiece
Keep your Dutch beard looking impeccable with a solid maintenance routine:
Trimming Schedule
- Regular Touch-Ups: Plan to trim your beard every 1-2 weeks to maintain its shape and length.
- Growth Monitoring: As your beard grows, you may need to adjust your trimming frequency. Pay attention to how quickly your beard grows and adapt accordingly.
Daily Grooming Ritual
-
Morning Refresh:
- Splash your beard with warm water to reactivate yesterday's products.
- Comb through to detangle and style.
-
Mid-Day Check:
- Keep a small comb in your pocket or desk for quick touch-ups.
- If your beard tends to get wild, consider carrying a small vial of beard nourishing oil for on-the-go moisturizing.
-
Evening Care:
- Wash your beard if needed (2-3 times a week is usually sufficient).
- Apply a small amount of oil before bed to keep your beard and skin moisturized overnight.
Product Rotation
- Experiment: Don't be afraid to try different oils, balms, and waxes to find what works best for your hair type and the Dutch beard style.
- Seasonal Adjustments: You may need heavier, more moisturizing products in winter and lighter ones in summer.
Remember, mastering the art of the Dutch beard is a journey. With patience, practice, and these detailed steps, you'll soon be sporting a beard that's the envy of Amsterdam.
Embrace the process, and let your Dutch beard become a true reflection of your personal style and grooming expertise.
Tools Needed for Trimming a Dutch Beard
Trimming a Dutch beard to perfection requires more than just skill; it demands the right set of tools. Whether you're a grooming novice or a seasoned expert, having the appropriate tools at your disposal can make the difference between an average trim and a perfectly sculpted beard.
Below, we’ll explore the essential and optional tools that will help you achieve the iconic Dutch beard look with precision and ease.
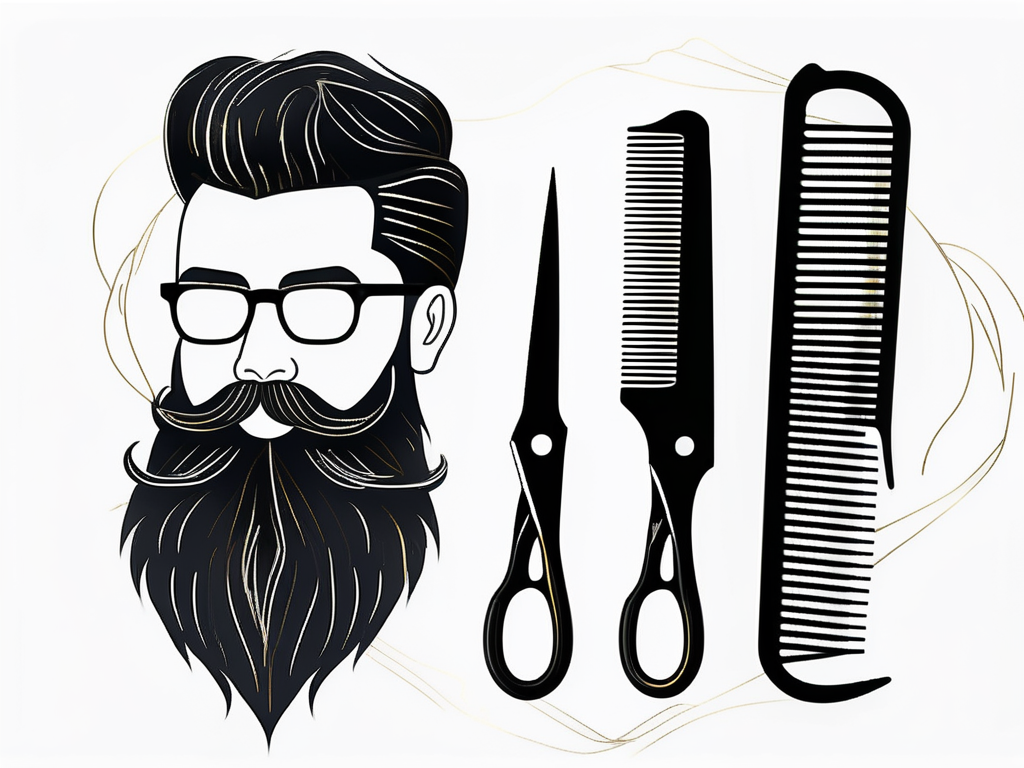
Essential Tools: The Core Kit for a Perfect Trim
These tools are the backbone of your grooming routine. They ensure that your Dutch beard is well-shaped, evenly trimmed, and properly maintained.
Beard Trimmer: The Workhorse of Grooming
A high-quality beard trimmer is indispensable for achieving the Dutch beard style. Look for a trimmer with adjustable guard settings, allowing you to customize the length of your beard with precision.
Trimmers with sharp, stainless steel blades ensure a clean cut without pulling or irritating your skin. Cordless trimmers offer flexibility, while models with a long battery life ensure uninterrupted grooming sessions.
Precision Scissors: For Finishing Touches
Precision scissors are a must-have for trimming stray hairs and refining the edges of your beard. These small, sharp scissors allow you to make delicate adjustments that a trimmer might miss.
They’re particularly useful for detailing areas around the mustache, sideburns, and the bottom edge of your beard. Always opt for stainless steel scissors, as they remain sharp and resist rust.
Beard Comb: Detangle and Define
A beard comb helps in both preparing your beard for trimming and styling it afterward. Use a fine-toothed comb to detangle knots and align the hairs in the same direction, making the trimming process smoother.
Post-trim, a wide-toothed comb can help shape and style your beard, giving it a fuller appearance. Wooden or antistatic plastic combs are preferable as they prevent static and reduce frizz.
Mirror: The Key to Precision
A good mirror, preferably a magnifying one, is essential for close-up work. It allows you to see every angle and detail of your beard, ensuring a precise trim.
If possible, use a three-way mirror to get a full view of your beard from all sides. This is especially important when shaping the neckline and jawline.
Optional Tools: Elevating Your Beard Game
While the essential tools are enough for a great trim, these optional tools can enhance your grooming routine, adding an extra level of precision and style to your Dutch beard.
Beard Shaper: Achieving Symmetry with Ease
A beard shaper is a template that helps guide your trimmer or razor to create perfectly symmetrical lines and curves. It’s especially useful for outlining your cheeklines, neckline, and sideburns.
Simply hold the shaper against your face, and follow the edges with your trimmer for a consistent, professional look.
Beard Nourishing Oil: For Softness and Shine
While not directly involved in trimming, beard oil is an excellent addition to your grooming routine. Applying a few drops of oil before trimming can soften the hairs, making them easier to cut.
After the trim, the oil conditions your beard, adding a healthy shine and reducing dryness or itchiness. Look for oils with natural ingredients like jojoba, argan, or coconut oil.
Beard Balm: Style and Hold
Beard balm provides a bit more hold than oil and is perfect for styling your beard after a trim. It helps shape the beard while keeping stray hairs in place. Balms with natural waxes and all-natural beard butter also nourish the beard, keeping it healthy and manageable.
It’s particularly useful if you want to give your Dutch beard a fuller, more structured look.
Detail Razor: Crisp Lines and Close Shaves
A detail razor, often with a single blade, is perfect for getting crisp, clean lines on your beard. It’s ideal for areas where precision is key, like the neckline or cheeklines.
Use a detail razor to achieve a sharp contrast between your beard and the surrounding skin, giving your Dutch beard a polished, defined appearance.
Beard Brush: Distribute Natural Oils
A boar bristle brush helps distribute natural oils from your skin throughout your beard, ensuring it stays hydrated and healthy.
Brushing your beard also helps exfoliate the skin beneath, reducing the risk of dandruff and promoting even growth. Use it to keep your beard looking neat and well-maintained between trims.
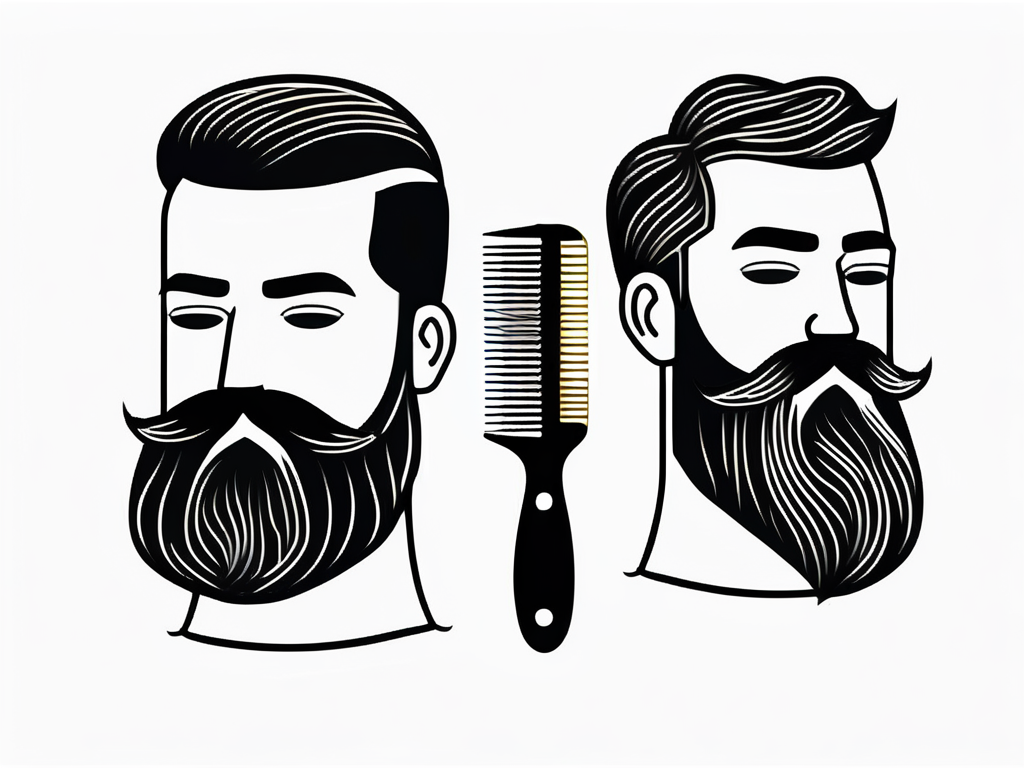
Common Mistakes to Avoid When Trimming a Dutch Beard
Maintaining a well-groomed Dutch beard requires more than just the right tools and techniques; it also demands a careful approach to avoid common pitfalls.
Even the most experienced groomers can make mistakes that can compromise the look of this distinctive beard style.
Here’s a guide to the most common mistakes you should avoid to ensure your Dutch beard remains sharp, symmetrical, and stylish.
The Over-Trimming Tragedy: When Less Isn't More 🪒
Picture this: You're trimming away, feeling like a master barber, when suddenly – oh no! You've gone too far, and your luxurious Dutch beard is now a shadow of its former self. Let's prevent this heartbreak, shall we?
Why It Happens:
- Overzealous trimming in pursuit of perfection
- Lack of patience during the growing process
- Using guard combs that are too short
How to Avoid It:
- The Step-Down Method: Start with a longer guard than you think you need. You can always go shorter, but you can't un-trim!
-
Trimming Triage:
- First Pass: Use a longer guard to trim the bulk
- Second Pass: Go one guard shorter for fine-tuning
- Final Pass: Use the shortest necessary guard or no guard for detailing
- The Two-Day Rule: After a major trim, wait two days before further trimming. This allows you to see how your beard settles and prevents over-correction.
- Mirror, Mirror: Use multiple mirrors or a three-way mirror to check your trim from all angles. What looks good head-on might need adjustment from the side.
The Shaping Shambles: When Your Dutch Goes Deutsch 🎭
The Dutch beard is all about clean lines and a strong jawline emphasis. But one wrong move, and you might end up with something that looks more like "goatee gone wild" than "dapper Dutchman."
Common Shaping Mistakes:
- Cutting the cheekline too high or too low
- Creating an uneven neckline
- Failing to maintain the characteristic fullness of the chin area
How to Correct and Avoid:
-
Cheek Line Mastery:
- Use your nose as a guide. Imagine a line from the bottom of your nose to your ear. Your cheekline should fall slightly below this.
- Start higher than you think you need. You can always bring it down, but you can't bring it back up (at least not without a time machine).
-
Neckline Nirvana:
- The "Two Finger Rule": Place two fingers above your Adam's apple. This is where your neckline should be.
- Create a U-shape from ear to ear, following your jaw's natural curve.
-
Chin Checkpoint:
- Resist the urge to trim the chin area too short. The Dutch beard thrives on a fuller chin.
- When in doubt, leave it longer. You can always trim more later.
The Maintenance Misstep: Neglect at Your Peril 🧼
A Dutch beard is like a high-performance car – it requires regular maintenance to keep it running smoothly. Neglect it, and you'll find yourself with a scraggly, unkempt mess that's about as Dutch as a pizza with pineapple.
Signs of Neglect:
- Dry, itchy skin beneath the beard
- Split ends and frizzy appearance
- Uneven growth and patchy spots
The Maintenance Manifesto:
-
Cleanse Like a Pro:
- Wash your beard 2-3 times a week with a dedicated beard shampoo.
- Use lukewarm water – hot water can dry out your skin and beard.
-
Condition for Greatness:
- Apply oil for the beard daily, especially after showering.
- Massage the oil into your skin to promote healthy growth and reduce itchiness.
-
Brush for Success:
- Use a boar bristle brush daily to distribute oils and train your beard hairs.
- Brush in the direction of hair growth to maintain the Dutch beard's shape.
-
Trim on Schedule:
- Set a regular trimming schedule – every 1-2 weeks is ideal for most.
- Pay extra attention to faster-growing areas like the mustache and chin.
-
Hydrate from Within:
- Drink plenty of water. A hydrated body means a healthier beard.
- Eat a balanced diet rich in vitamins and proteins to promote strong beard growth.
Complete Your Dutch Beard Transformation
Achieving the perfect Dutch beard is a journey of precision and care. Start by preparing your beard with thorough cleansing and conditioning, then move on to meticulously trim and shape it according to your desired style.
Using the right tools and techniques ensures a well-defined, polished look that stands out. Regular maintenance and careful detailing will keep your Dutch beard looking sharp and impressive. With patience and practice, you’ll master the art of this classic style and make it a powerful part of your personal image.
Ready to take your beard to the next level? Explore more tips and find state-of-the-art beard products with The Beard Struggle. Transform your look today!